Setting up your DTF (Direct to Film) Powder Shaker and Dryer
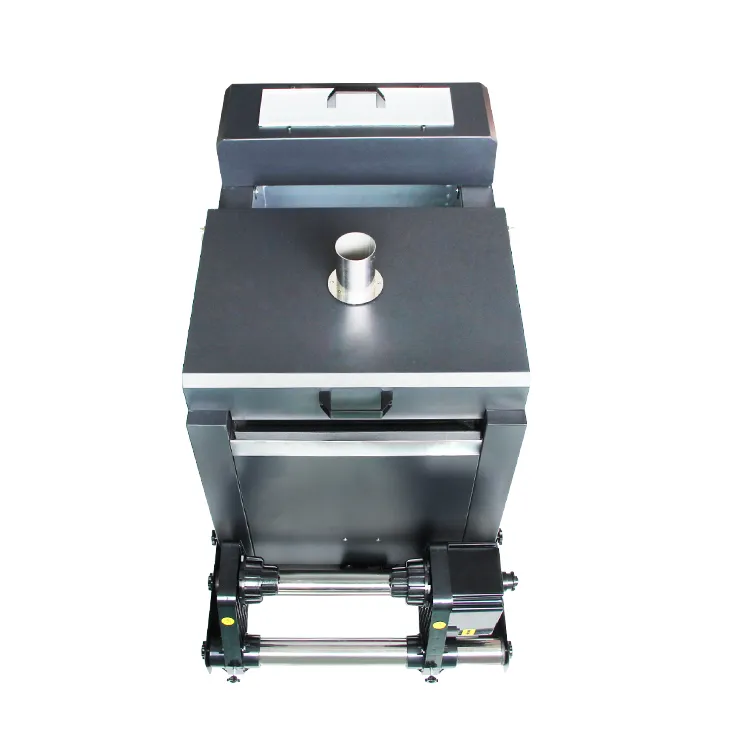
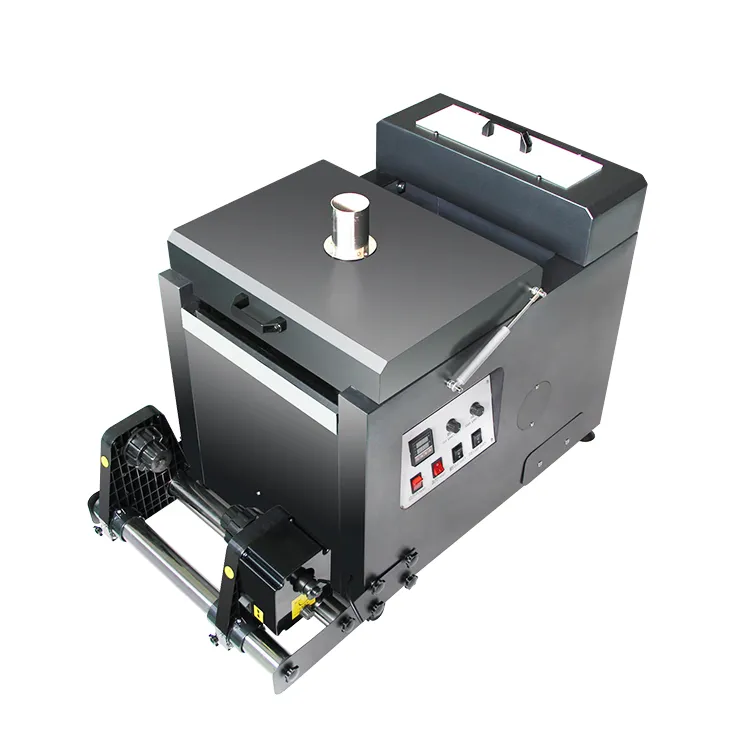

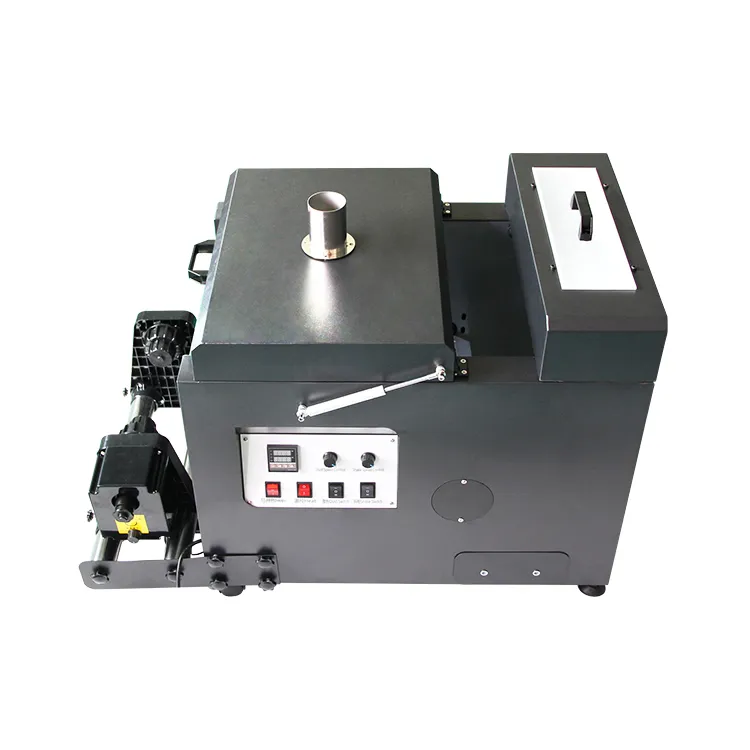
Setting up your DTF (Direct to Film) Powder Shaker and Dryer is a critical step in the production line. If the powder is not applied or cured correctly, your prints will crack, peel, or feel overly thick.
Follow this guide to ensure a smooth workflow and professional-grade transfers.
1. Electrical & Physical Setup
- Power Supply: Most industrial shakers require a stable 220V connection. Ensure the machine is grounded to prevent static buildup, which causes the powder to “cling” to areas of the film where there is no ink.
- Exhaust/Ventilation: The curing process melts TPU powder, which can release fumes. Place the shaker in a well-ventilated room or connect it to an external air purifier/extractor.
2. Powder Loading & Motor Management
As noted in our technical tips, managing the volume of powder is essential for mechanical longevity:
- Avoid Overloading: Do not add too much powder at one time. If the powder reservoir is overfilled, it can strain the Powder Motor, making it unable to rotate or causing it to burn out.
- Adjustment: Add powder in small increments. Adjust the vibration/shaking speed gradually.
- The “Dissolve” Check: Make appropriate adjustments to the shaker speed until the powder is fully and evenly distributed across the wet ink. It should look like a consistent “sugar” coating without clumps.
3. Heating & Curing Settings
The dryer section of the shaker must melt the powder into a specialized adhesive layer without scorching the film.
- Temperature Calibration: Try 100°C first. Depending on your local humidity and the brand of TPU powder, you may need to adjust this between 100°C and 125°C.
- The “Orange Peel” Effect: The powder is perfectly cured when it looks like a melted, glossy “orange peel” texture.
- If it looks like dry sand: The temperature is too low or the speed is too fast.
- If the film is warping/yellowing: The temperature is too high.
Conveyor Speed: Synchronize the speed of the shaker’s belt with your printer’s output speed to ensure the film doesn’t “bunch up” or pull too tight against the printhead.
4. Daily Operation & Success Tips
- Recycle Powder: Periodically collect the excess powder from the bottom collection tray and pour it back into the top hopper.
- Static Control: Use an anti-static bar or ensure the machine is properly earthed. If static is high, powder will stick to the transparent parts of the film, leaving “specks” on your final garment.
- Sensor Check: Clean the infrared sensors that detect the film “loop.” If these are dusty, the shaker may not pull the film through at the right time.
Technical Support Summary
- Voltage: 220V (Stable)
- Initial Heat: 100°C
- Critical NB: Ensure the powder motor is not strained by excessive weight.