Sourceprinting Vinyl Cutter Unboxing & Setup Guide
Quick-Start Guide: Setting Up Your KI-720A Vinyl Cutter
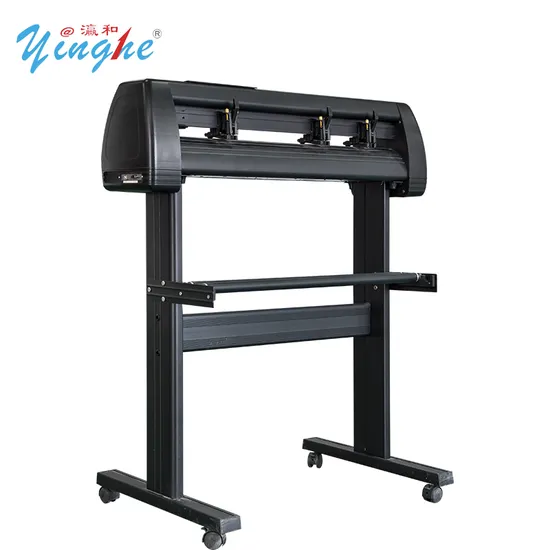
Congratulations on your new KI-720A Vinyl Cutter. Follow these steps to get your workstation up and running.
Step 1: Hardware Assembly
- Stand Setup: Assemble the included floor stand and securely mount the vinyl cutter.
- Loading Media: Place your vinyl roll on the stand rollers and feed it through the machine. Ensure the pinch rollers are aligned with the grit rollers to prevent the material from slipping.
- Connectivity: Use the provided cable to connect the plotter to your computer.
Step 2: Software Installation
- Locate the License: Find the SignMaster card included in your box.
- Download: Follow the web link printed on the card. When prompted, enter your unique activation code to begin the download.
- Installation: Run the setup file and follow the on-screen prompts to complete the installation.
Step 3: Machine Configuration
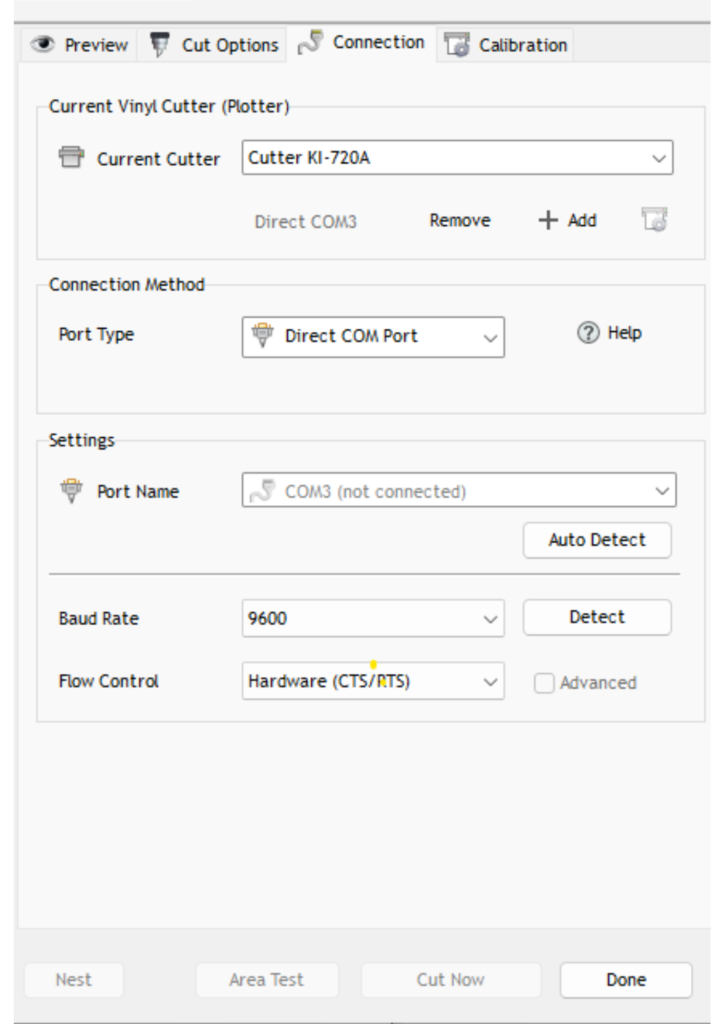
Inside the SignMaster software, you must configure the following settings to ensure the computer can communicate with the cutter:
- Model Selection: Select Cutter KI-720A.
- Port Settings: Select Direct COM Port.
- Baud Rate: Set to 9600.
- Flow Control: Set to Hardware (CTS/RTS).
Step 4: Calibration & First Cut
- Blade Setup: Ensure your blade is correctly installed in the holder with the proper depth (about the thickness of a business card).
- Test Print: Use the software or the machine’s control panel to perform a “Test Cut.”.
- Verification: Confirm the blade cuts cleanly through the vinyl but does not pierce the backing paper. Once confirmed, you are ready to start your first project!
Pro-Tip for the Client:
Always ensure the USB or Serial cable is firmly connected before opening the Sign Master software, as the program needs to “see” the connection to communicate properly.
This guide provides a comprehensive walkthrough for setting up your vinyl cutter, ensuring your hardware and software are perfectly synchronized for professional results.
Vinyl Cutter Unboxing & Setup Guide
Step 1: Unboxing & Inspection
- Prepare the Workspace: Clear a stable, flat area large enough to accommodate the machine and allow the vinyl to feed through the back.
- Carefully Open the Box: Use safety shears or a box cutter to open the package without damaging the internal components.
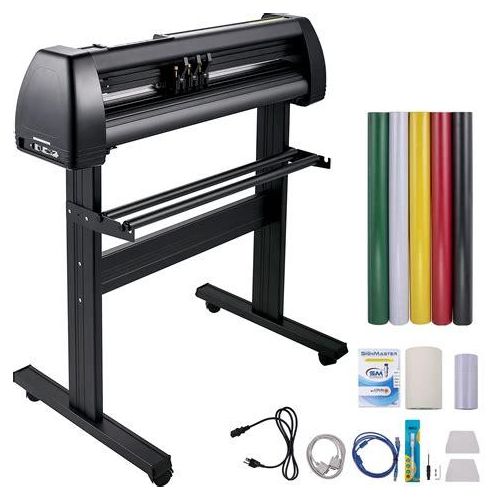
- Inspect the Contents: Your package should include the Vinyl Cutter, power cables, a USB cable, a blade holder, a set of blades, and the user manual.
- Remove Packaging: Take out all foam inserts and protective plastic wraps from the machine body and the cutting carriage.
Step 2: Hardware Assembly
- Surface Placement: Position the cutter on a stable surface near your computer and a grounded power outlet.
Blade Installation: * Unscrew the cap of the blade holder.
- Insert the blade with the sharp tip facing out.
- Adjust the depth so the tip extends only about 0.5mm (roughly the thickness of a credit card).
- Secure the holder into the cutting arm bracket and tighten the screw.
Power & Connectivity: * Plug the power cable into the machine and then into the wall.
Connect the USB cable from the cutter to your computer.
Step 3: Software Installation & Configuration
To turn your artwork into physical cuts, you must install the appropriate vector software.
- Install Drivers: Use the provided media or download the latest drivers for your specific model (e.g., SignMaster, FlexiSIGN, or CorelDRAW).
- Set Parameters: * Set the machine width in the software (typically 720mm for standard desktop units).
- Set the communication port to the correct USB/COM port.
- Calibration: * Adjust the Speed and Force (Pressure).
For standard Heat Transfer Vinyl (HTV), start with medium settings and refine based on your test results.
Step 4: Loading the Vinyl
- Positioning: Place your vinyl roll on the rear rollers.
- Pinch Rollers: Feed the vinyl forward under the pinch rollers. Ensure the rollers are positioned over the “grit” sections of the long roller bar to grip the material correctly.
- Alignment: Use the markings on the machine to ensure the vinyl is perfectly straight. Uneven alignment will cause the vinyl to “track” sideways during long cuts.
Step 5: The Test Cut (Crucial)
- Run a Test: Most cutters have a physical “Test” button on the control panel.
- Evaluate: * The blade should cut through the vinyl but not through the paper backing.
If the vinyl is tearing, reduce the speed or check if the blade is chipped.
If the vinyl isn’t cutting through, increase the pressure or extend the blade slightly.
Step 6: Ready for Production
Once your test cut weeds easily, you are ready to send your first design from your computer. Always remember to Mirror your designs if you are cutting Heat Transfer Vinyl for T-shirts.
Professional Tip: If you are using your cutter for high-volume jobs, regularly check the cutting strip (the plastic strip under the blade) for grooves, as a damaged strip will cause inconsistent cuts.