Tutorial & Supporting Video Collection
For the best experience please watch the video tutorial on a PC or Laptop.
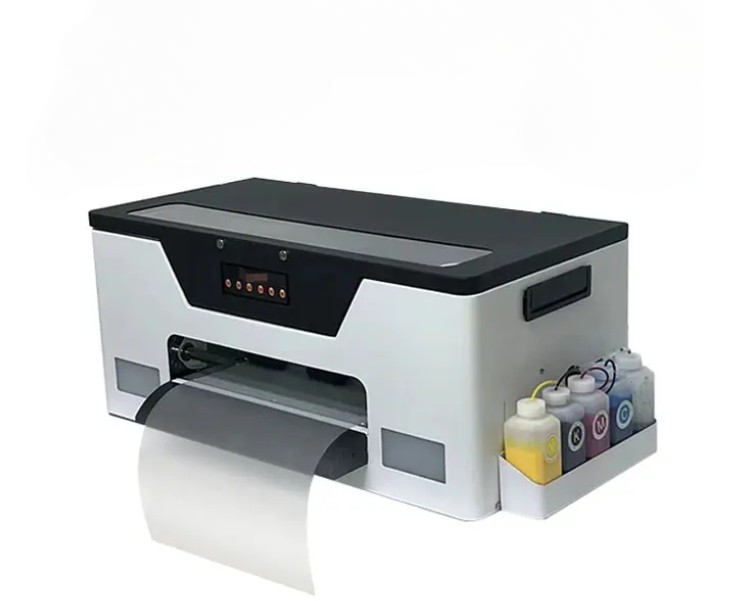
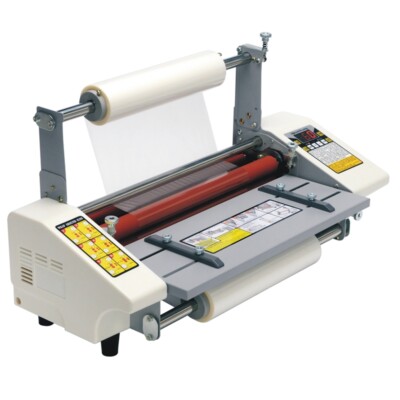
Epson Sublimation Printer
NB: Always add your inks first before turning on your printer:
When setting up your sublimation printer, there are two simple methods to fill your sublimation ink tanks:
1. Using 4 Ink Pipes (One for Each Color)
• Quick and Clean Setup
• Connect each color pipe (CMYK) to your ink bottle and tank.
• No need to squeeze – gravity feed handles the rest. Make sure to watch the ink levels not to overfill.
• Ideal for bulk systems or printers with external tanks.
2. Using 4 Syringes (One for Each Color)
• Precise Ink Control
• Draw ink from the bottle and gently inject into each tank.
• Recommended for when refilling manually.
• Easy to measure and avoid spillage. Make sure to watch the ink levels not to overfill.
Let us help you build or grow your sublimation business — from ink to income!
How to use your heat press machine Step by Step
Step-by-step guide for replacing accessories on your 8-in-1 heat press machine, including the mug press, hat press, plate press, and others. Most 8-in-1 combo heat press machines come with detachable accessories that share the same main controller.
🔧 Tools You May Need:
Allen key (usually included)
Phillips screwdriver
Heat-resistant gloves (optional but recommended)
Soft cloth (to wipe surfaces)
🧩 MAIN ACCESSORIES YOU CAN SWAP:
- T-shirt press (flat press) – default on machine
- Mug press – for mugs (various sizes)
- Cap/hat press – curved base
- Plate press – 2 sizes (small and large)
⚙️ GENERAL STEPS FOR ACCESSORY REPLACEMENT
🔄 STEP 1: Turn Off & Unplug the Machine
Always switch off and unplug the heat press before changing any accessory to avoid electric shock or burns.
🔧 STEP 2: Let It Cool Down
If the machine was recently used, wait until all surfaces have cooled completely.
🔩 STEP 3: Remove the T-shirt Press (Flat Platen)
- Disconnect the heating element cable (usually a 4-pin plug or screw-tight plug) from the control box.
- Unscrew the mounting bolts (typically two bolts under the top platen or around the hinge).
- Lift the top platen straight up to remove it.
🧱 STEP 4: Install a New Accessory (Example: Mug Press)
Mug Press
- Align the mug press base where the T-shirt press was removed.
- Bolt it in place using the same mounting screws.
- Connect the heating element plug into the control box (match the pin layout).
- Switch the machine back on, and choose mug temperature/time settings.
Tip: Your mug press may have multiple mug elements (e.g., 11oz, 6oz, latte). Each one can plug into the same mug press base. Just unplug and switch them out.
🧢 STEP 5: For Cap/Hat Press
- Remove the flat press.
- Mount the curved hat base using the bolts provided.
- Attach the heating element for the hat press and plug it into the main controller.
- You may need to slightly adjust pressure settings for curved items.
🍽️ STEP 6: For Plate Press
- Install the round base plate by bolting it where the lower platen usually sits.
- Attach the round upper heating element.
- Plug in the round heating element into the control box.
⚠️ Important: When installing plate presses, always check that the heating element doesn’t directly touch the plate before pressing down. Use heat-resistant tape to hold transfers.
✅ STEP 7: Test Before Using
- Turn on the heat press.
- Set the correct temperature and time for the accessory.
- Let it heat up and press a test item (mug, hat, etc.) with scrap material to ensure everything is working correctly.
💡 TIPS:
- Always match plug types when connecting a new accessory — forcing the wrong connector can damage the controller.
- Don’t overtighten bolts – just enough to secure the accessory in place.
- Use silicone pads or protection sheets when pressing plates or hats.
- Wipe surfaces after each use to prevent ink/adhesive residue buildup.
Vinyl Cutter Unboxing & Setup Guide
Everything you need to know about how to setup your vinyl cutter
It is essential to follow these steps closely because. The steps to follow will be the same for all vinyl cutter.
Step 1: Unboxing
- Prepare the Workspace: Ensure that you have enough space to handle the vinyl cutter.
- Carefully Open the Box: Use a box cutter or scissors to safely open the package.
- Inspect the Contents: The box should include the vinyl cutter, power cables, a USB cable, blade holder, blades, and a user manual.
- Remove Protective Packaging: Take out the foam inserts and plastic wraps around the vinyl cutter and accessories.
Step 2: Initial Setup
- Place the Vinyl Cutter on a Flat Surface: Ensure the vinyl cutter is placed on a stable, even surface with easy access to power outlets.
- Install the Blade:
- Unscrew the blade holder.
- Insert the vinyl cutting blade into the blade holder with the sharp tip extending just a little (about 0.5mm) for optimal cutting.
- Screw the blade holder back into the cutting arm.
- Attach the Power Cables: Plug the power cable into the vinyl cutter and connect it to a power source.
- Connect via USB: Use the provided USB cable to connect the vinyl cutter to your computer.
Step 3: Software Installation
- Install the Vinyl Cutter Software: Use the software CD provided, or download the driver and cutting software (e.g., FlexiSIGN or Sure Cuts A Lot) from the manufacturer’s.
- Configure the Software:
- Set the cutter’s width (720mm).
- Adjust speed and pressure settings based on your material (for vinyl, typically start with medium pressure and speed).
- Test Communication: Ensure your computer can communicate with the cutter. Perform a test cut to verify the connection.
Step 4: Loading the Vinyl
- Insert the Vinyl Roll: Place the roll on the cutter’s rollers and adjust the vinyl alignment using the pinch rollers.
- Feed the Vinyl: Feed the vinyl into the cutter and make sure it is smooth and aligned.
Step 5: Test Cutting
- Run a Test Cut: Before cutting your first project, run a test cut to ensure the blade pressure and alignment are correct.
- Adjust Blade Depth/Pressure if Needed: Make sure the cuts are clean without cutting too deeply into the backing.
Step 6: Ready for Your First Project
Once everything is calibrated, you are ready to start your vinyl cutting projects.
Installation and Assemble
Training Video Guide
Basic Software Training
Cutting Vs Contour Cutting
Alignment Video Guide
DTF Printers
DTF A3 Printer Setup Guide
Welcome to the Biz A3 DTF Video Training & Maintenance resource collection. This guide is designed to provide you with an in-depth understanding of the DTF printing process using the A3 printer, along with essential tips for maintaining optimal performance over time.
- 1. Unboxing and Installation for DTF A3 Printer
- 2. Unboxing and Installation for DF A3 Powder Shaker
- 3. Main components and functions of DTF A3 printer
- 4. How to use DTF A3 Printer
- 5. How to maintain DTF A3 Printer
Prestige A4 – Comprehensive Direct To Film (DTF) Training & Maintenance Guide
Welcome to the Prestige A4 DTF Training & Maintenance resource collection. This guide is designed to provide you with an in-depth understanding of the DTF printing process using the Prestige A4 printer, along with essential tips for maintaining optimal performance over time.
Tutorial Collection Overview
This training resource covers all the critical aspects of using the Prestige A4 DTF printer, from setup and daily operations to troubleshooting and maintenance. Whether you are new to DTF printing or an experienced user, this guide will help you maximize the capabilities of your Prestige A4 printer.
Prestige A4 – In Depth Direct To Film Training
Prestige A4 Maintenance
Prestige L2 & XL2 Setup Guide
Welcome to the Prestige L2 & XL2 Setup Guide!
This guide will walk you through every step required to successfully set up your Prestige L2 or XL2 Direct-to-Film (DTF) printer. From unboxing to performing your first test print, this guide ensures your machine is installed, optimized, and maintained for top performance. Follow the steps carefully to ensure your system runs efficiently and produces high-quality prints.